


Creating Sticker Text and Graphic Effect in Illustrator
Creating Sticker Text and Graphic Effect in Illustrator
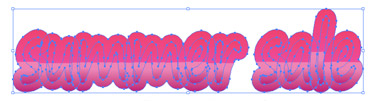
In this tutorial, I will show you how to create sticker style effect in Adobe Illustrator. It is quite easy to create a sticker style text and you can apply the same technique for any graphic illustration as well.
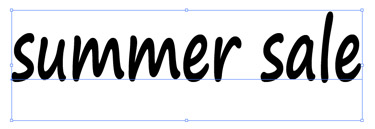
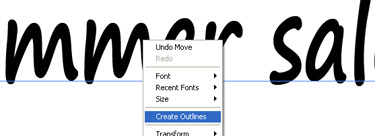
Type down the text and make sure to use a little thicker font. Choose the text, right click, and click on Create Outline, so that we can apply gradients to the text. If you don't want to use gradients in text, you may choose not to convert your text into outline.
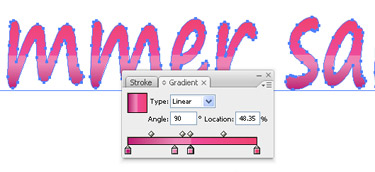
Apply gradient to text. Here, I decided to use shiny web 2 style gradient.
Using the Rectangle Tool (M), make a square or rectangle. Fill it with any colour you like except white and pick it, right click and choose Arrange > Send to Back so that you have a background below the text. You could do this at the Step 1 itself.
Now, choose the text, Copy it (Ctrl/Comm + C) and Paste in Back (Ctrl/Comm + B). While the text you just pasted is selected, change its Fill colour with no stroke and navigate to Object > Path> Offset Path and choose the settings as shown in the image below or any setting that suits your text.
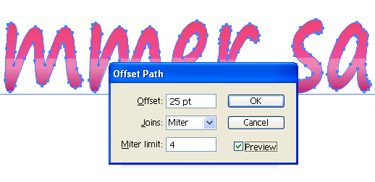
Note: You can also offset the path via, Effect > Path > Offset Path. This is a better way because later if you want to edit it, you can always do so from Appearance Panel. Also, if you have not turned your text into outline in Step 1, you will have to offset the path via Effect Menu.
Step 4
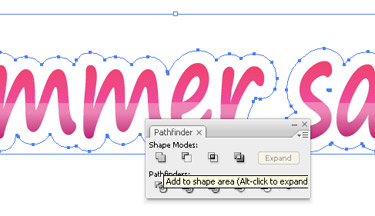
While the path you just offset in Step 3 is still selected, open the Pathfinder Panel and click on Add.
Next, if you wish you may also apply gradient to the offset path. For the Left Slider I chose the colour of gradient as shown in image below and for Right Slider the colour is 0% for CMYK.

Apply some Drop Shadow (Effect > Stylize > Drop Shadow) to the selected path.
That’s it!

Instead of applying the drop shadow, you can duplicate the offset path, send it back, offset the path again to around 2 pixels, change it's fill colour to black and bring down it's opacity to around 10 or 13%.
In the similar way, you can create the sticker effect on any graphic illustration or shape. But the steps are slightly different.
Take any illustration and give it a background.


Stuff
- » Home
- » About us
- » Portfolios
- » Tutorials
- » Testimonials
- » Contact
- » T&C
- » Sitemap